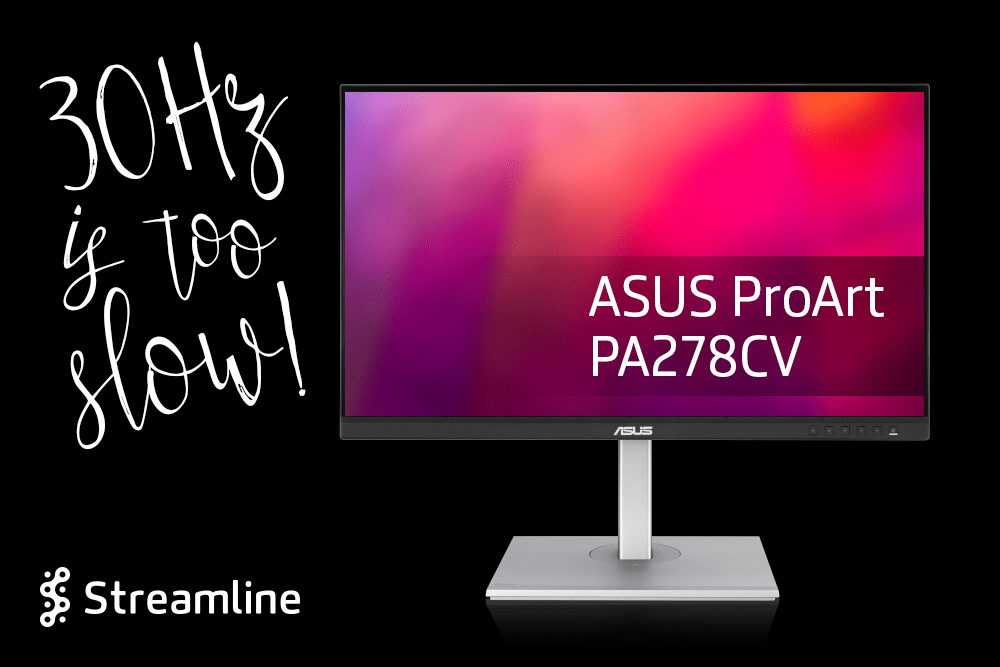
Problem: ASUS PA278CV Slow Refresh Rate
- I experience ASUS PC278CV slow refresh rate sometimes. It is a random slowing to 30 Hertz, which means my mouse moves slow on the screen and stutters a bit. I need it to have a 60 Hertz refresh rate.
- In nearly all cases the dropdown for Refresh Rate is not available in my settings.
- The error is a random occurrence. It has no connection to power on/off, surges, reboots, and so on.
- The ASUS sits along side two LG UltraFine 5k monitors.
Three-Monitor Computer Setup
- Computer: MacBook Pro (15″)
- OS: macOS Monterey
- Left Display: ASUS PC278CV (27″ | 2,560 x 1,440)
- Middle Display: LG UltraFine 5k (27″ | 5,120 x 2,880)
- Right Display: LG UltraFine 5k (27″ | 5,120 x 2,880)
Notes
Why do I have this setup? I love the LG UltraFine 5k monitors. However, I need a lower resolution option for software like Photoshop, which is raster/pixel-based. Vectors and most HTML elements look amazing on the LG’s, but working on common web resolutions in Photoshop on them means the images are about half the size I want them to be.
The ASUS ProArt PA278CV is a fine lower-resolution display. I’m glad I have it, as it properly serves as a solution for a problem I have. The ASUS PA278CV slow refresh rate is an issue I’ve overcome.
Solution
After trying a plethora of possible fixes, I found that this series of steps works time and time again.
- Remove all monitor cables from computer. The order is not important.
- Reboot with option+command+P+R to reset the NVRAM. My MacBook has one chime, a pause, and another chime. ThenI release the keys.
- Reconnect the ASUS first, followed by other displays. The sequence is critical, as connecting one of the other monitors first causes this solution to fail.
- Go into System Preferences : Displays and click Display Settings…
- Select the ASUS display.
- Set the Resolution to Scaled.
- If Refresh Rate is available, set it at 60Hz. The slowness is caused by the incorrect 30Hz setting.
- If Refresh Rate is NOT available in your Mac’s preferences, ensure the Resolution is set to Scaled, reboot as normal, and follow the steps above beginning at step 4.
Questions?
If you have any questions about this, feel free to contact us any time. We hope this helps anyone who is having the same problem.


